'Anthony Dale' Template — Instructions
Welcome to Anthony Dale, a modern and flexible portfolio Webflow template built for creative teams, studios, and service providers. This guide will walk you through how to get started, edit content, and make the most of all template features. No coding required — just customize and launch.
IMPORTANT*
IMPORTANT* If you want to fix the inital glitches caused by webflow initial states, and some imporvements, add those custom CSS to your website:
Add to Global Head code:
<style>
  html {
    -webkit-font-smoothing: antialiased;
    -moz-osx-font-smoothing: grayscale;
  }


.w-slider-dot {
width:1rem !Important;
height:1rem !Important;
}

.button.top-nav.w--current .btn-text {
text-shadow: 0 2.2em 0 var(--_theme---brand--brand);
}

.button.w--current .page__progress-wrap {
opacity:0.1;
}

.button.is-contact.is-bigger.w--current .btn-text {
text-shadow: 0 2.2em 0 var(--swatch--n-100);
}

.button.is-bigger.w--current .btn-text {
text-shadow: 0 2.2em 0 var(--_theme---brand--brand);
}

.button.is-fliter.w--current .btn-text {
text-shadow: 0 2.2em 0 var(--swatch--n-100);
color:var(--swatch--n-100);
}

.button.is-primary .btn-text {
text-shadow: 0 2.2em 0 var(--swatch--n-100);
}

@media screen and (min-width: 992px) {
  .floating__nav {
    transform: translate3d(0px, 6rem, 0px) scale3d(1, 1, 1)
                rotateX(0deg) rotateY(0deg) rotateZ(0deg)
                skew(0deg, 0deg);
  }
}

</style>
Add to Home Head code:
<style>
/*Initial states No GLitch*/
/*Please Webflow leave it!*/
.button.is-logo,
.nav__links,
.p-small.hero__text,
.inner__showreel,
.profile__photo,
.hero__ticker
{
  opacity: 0;
}

.hero__bg {
transform:scale(0);
}

@media screen and (max-width: 1024px) {

.navs__wrap {
transform: translate3d(0px, 10rem, 0px) scale3d(1, 1, 1) rotateX(0deg) rotateY(0deg) rotateZ(0deg) skew(0deg, 0deg);
}
}

 </style>
Add to About Head code:
<style>
.about-hero {
opacity:0;
}
</style>
Add to Playground Head code:
<style>
.playground-preventer {
display:block;
}
</style>
Design system / Variables
You 4 variable collections:
- Base - Includes the Primitive colors, fonts and sizes
- Text style - which is responsible for all Text styles from H1 to Paragraph
- Responsive - here are all the responsive values related to texts or containers.
- Theme
1. Base
Here are all of the colors, fonts and Sizes:

2. Text Styles
Here you can modify all text properties. Keep in mind that the purple values are linked to other variables — for example, the H1 size is tied to responsive settings, so it automatically adjusts based on the breakpoint.

3. Responsive
Here, you can adjust responsive values based on breakpoints — for text, containers, and spacers

Elements (Components)
We have some elements as components. We will cover a few more specific parts of those:
- Filter
- Award
- Button
- Button borderless
- Job Position
- Logo item (Clients Grid)
- Metric (About>Metrics)
- Playground Image
- Tag (2 variants)
- Tools (About > Tool I use)
- Navigation
Filter
Filter redirects you to page related to the Service you chose. The Collection list of projects there is filtered to show projects that have the selected service and will remove those who don't have it.

Also if you go to the CMS > Services and create New service, it will populate to all pages and sections related to this collection:
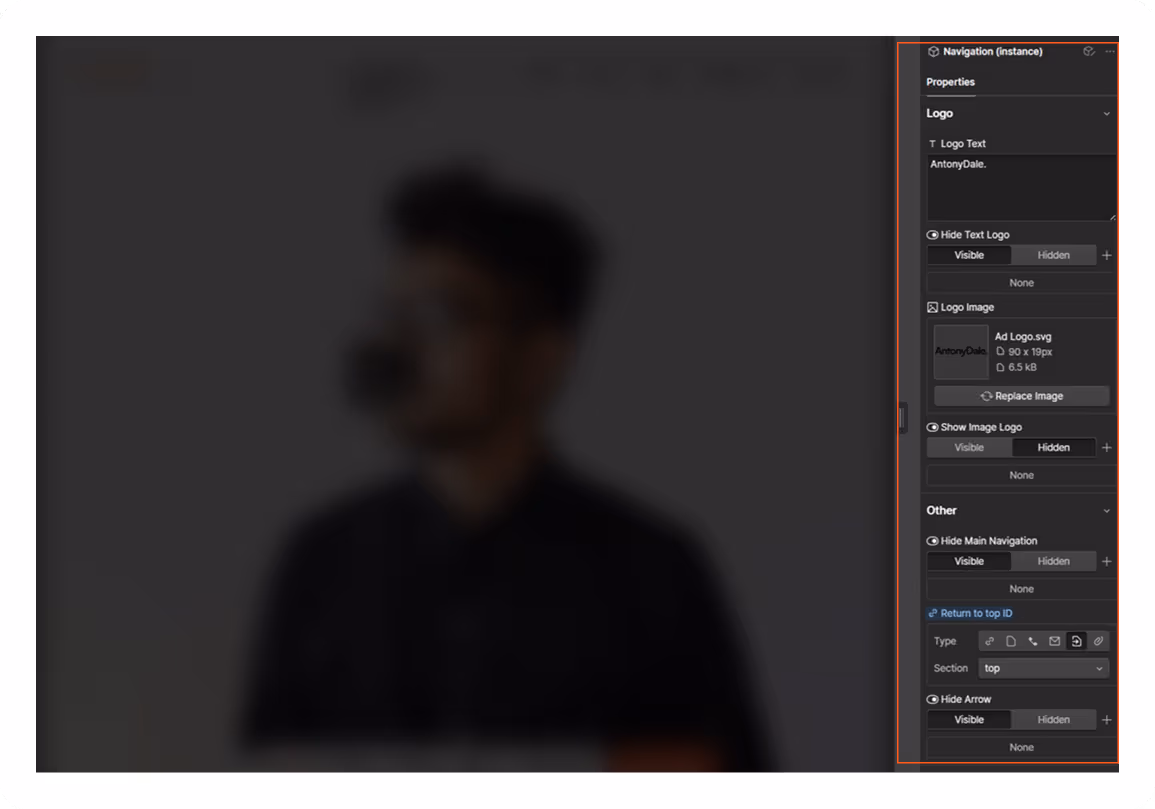
Navigation Component
Navigation component has few properties that you need to consider:
- Logo - you can change the logo to be Image or Text. Right now text is selected so it matches the text design system
- If you want to change it to Image, just click on "Hide text Logo", and then on 'Show Image Logo'
- Also you can hide the Floating navigation if you have pages with only one section as Playground
- You can also hide the Return to top icon in the floating nav in case you have a single-section page.
Component Sections
In order for sections to be used properly we have some instructions. So we will list few that might be little more confusing at first.
1. Home Hero
For home hero we have component properties, but also some things as the Autoplay video and the Youtube / Vimeo links you need to edit the compnent. First we will describe the properties:
- First you can edint the moving text. Applying here it will apply to all instances in the animations
- You can also change the background image, which is separated from the Profile Image
- The person image has 2 variants, desktop and mobile, because not every image works for both.
- If you want to use one solid image you can set it as Background image and remove the Person images from the component (Not Recommended)

So for the Video Parts. You need to edit the component and change those:
1. In the navigator expand till you find the video__full element and Replace the video. (Image Below)

2. Go to video__lightbox' element and change the url of the Video. You can use both YouTube or Vimeo.
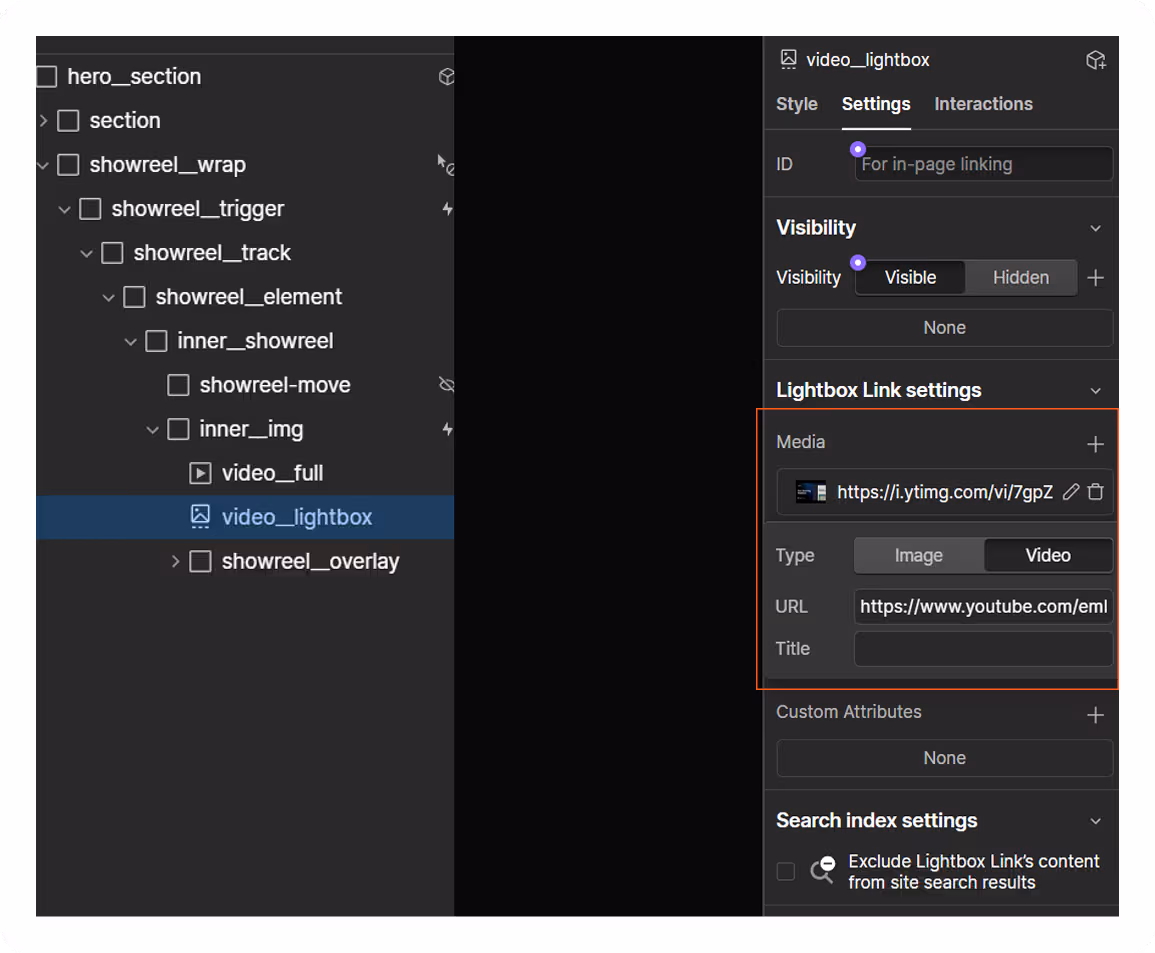
If you upload Video as this background, performance is king. Make it as short as possible since this is going to be just a short clip of the thumbnail - 4-5s max is nice and this software will help you compress it almost losslessly - Handbrake
2. Footer Component
Similar as Navigation you have the same options for the logo:
- Logo - you can change the logo to be Image or Text. Right now text is selected so it matches the text design system
- If you want to change it to Image, just click on "Hide text Logo", and then on 'Show Image Logo'
- You can change from the props the Heading of the footer
- Also the emphasized email - both link and text.

CMS (Dynamic) Pages & Collections
Collection Pages
1. Blog
We created a simple but sufficiently rich blog page that will be perfect for case of Agency or Freelancer.
2.Works
- Showcase your projects with 20+ CMS fields such as - title, thumbnail, categories, testimonial, full case study content and SEO fields.
- The Works CMS also contains a Multi-Reference collection, where you can add all of the services done for the desired project.
- You can always add or remove services from the Work Services collections
- You have project external link, which if not set hides the button to it
3. Legal
Here you can manage and create more Legal pages that uses the Rich Text styling from blog
Collections
- Testimonials (Manages Testimonials in Home page). You can rearange by Order number.
- Blogs
- Blog Tags (Creates tags which you can select in Blog Collection as multirefernce and seen in the thumbnail and blog single page)
- Works (List of all works)
- Services (List of all services). Changing this will affect multiple places.
- Subservices (Those are listed both in About > Services section, also in the Work Page where you can list more specific ones that you applied in the selected work)
- Teams (Manges the team/collboratos in the section About > Collaboratos)
- Legals (Manages the Pages and content of legal pages)
- FAQs (Manages the questions in the Contact page form)
Images
1. Gallery
For your convenience split your assets in folders. E.g. Photos, Logos, Infographics, Team...

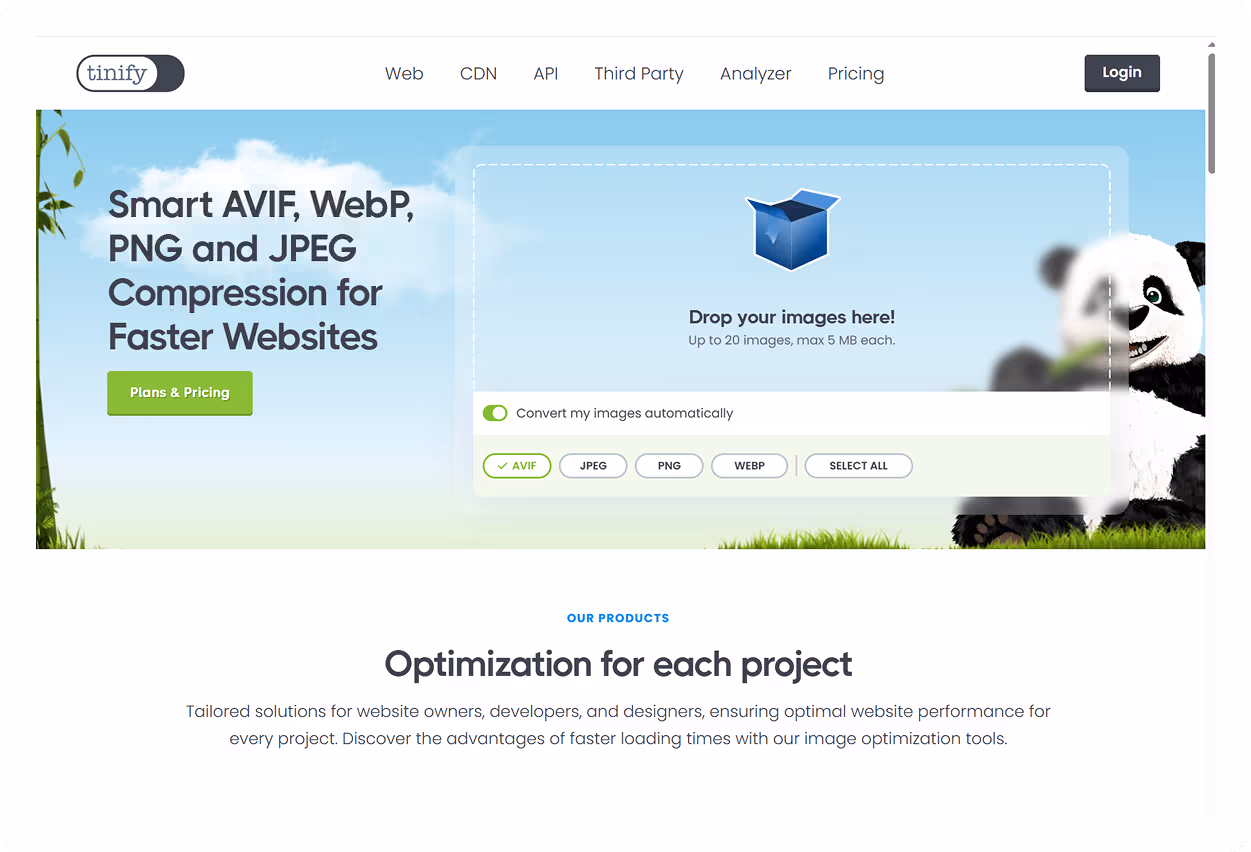
2. Image optimization
Always compress your images with TinyPNG before uploading. Image compression is one of the most important steps to prevent slow page loads and poor SEO performance.
Other
1. SEO
All of the CMS pages have custom SEO fields located at the end of each collection that needs it (Resource, Works, Team).
- Title Tag
- Meta Description
- Open Graph Image

2. Sharing Resources
In order to be able to make this work, you need to open each of those links, and edit the URL in the custom code, with your domain:

Edit only the part that shows your domain:
https://www.yourdomain.com/resources/
